The first time I made teriyaki air fryer chicken, I completely butchered it. I’m talking burnt edges, raw centers, and a sauce so thick it turned into chicken candy instead of that glossy, savory-sweet coating I was dreaming of. This was back when I thought teriyaki was just “soy sauce plus sugar” – clearly, I had no idea what I was doing. Fast forward through about twenty failed attempts, countless YouTube videos of actual Japanese cooking techniques, and one very patient conversation with my neighbor Mrs. Chen who grew up in Osaka, and I finally understood what real teriyaki should taste like.
The game-changer wasn’t just learning the proper sauce ratios – it was discovering that authentic teriyaki is actually a cooking technique, not just a sauce you dump on chicken. The word literally means “grilled and glazed,” and once I started treating it like a two-step process in my air fryer, everything clicked. Now this recipe is what I make when I want to impress people, or when Emma brings friends over and I need something that photographs well for their Instagram stories.
Building on everything I’ve shared in my [Air Fryer Chicken Recipes] collection, this teriyaki version taught me that patience and technique matter just as much as good ingredients. You can’t rush the glaze development, and you definitely can’t skip the reduction step, even when you’re using an air fryer instead of a traditional grill.
What I’m about to walk you through is my foolproof method for teriyaki chicken that actually tastes like it came from a real Japanese restaurant – not the overly sweet, gloopy stuff you get from most American takeout places. Plus all the mistakes I made along the way so you don’t have to repeat them.
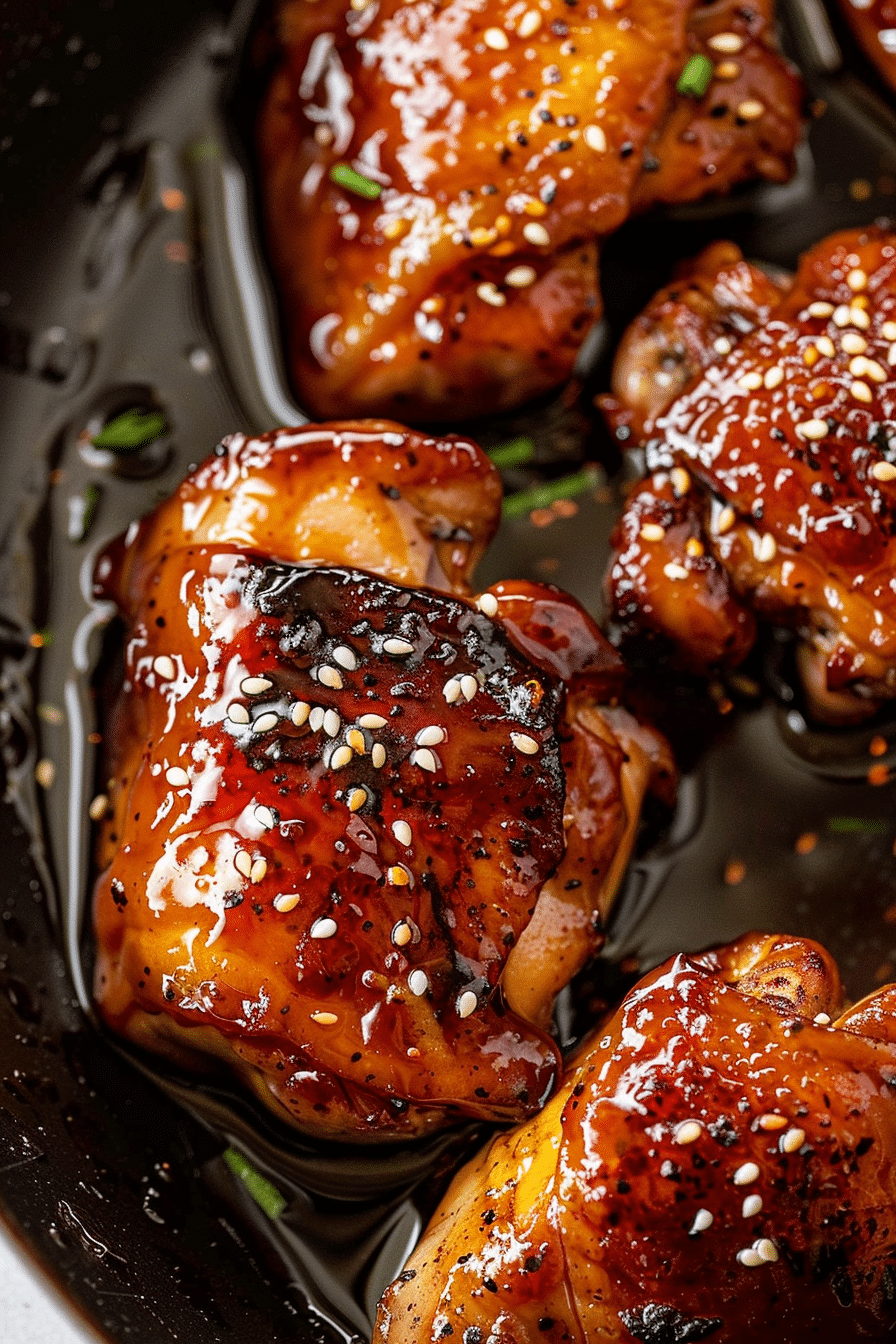
Table of Contents
Why Air Fryer Teriyaki Chicken Is Superior to Traditional Methods
Traditional teriyaki requires constant attention – you’re standing over a grill or stovetop, brushing on layers of sauce, flipping at precise moments, and praying you don’t burn the glaze while trying to cook the chicken through. It’s honestly exhausting, and I’ve ruined more chicken thighs than I care to admit trying to master the traditional technique.
The air fryer changes everything because it gives you controlled, consistent heat that won’t scorch your glaze while the chicken finishes cooking. You get that same caramelized, lacquered exterior, but without the stress of managing open flames or hot oil splattering everywhere. Plus, the circulating air helps the sauce reduce and concentrate in a way that’s almost impossible to achieve with other cooking methods.
What really sold me was the cleanup factor. Traditional teriyaki means a sticky grill grate or a sauce-splattered stovetop. With the air fryer, everything stays contained, and cleanup is just washing the basket and maybe wiping down the interior. Jake actually commented that our kitchen doesn’t smell like burnt sugar for three days after I make teriyaki anymore.
The flavor concentration you get is incredible too. That circulating hot air intensifies the sauce as it reduces, creating layers of flavor that build with each cooking stage. It’s honestly better than most restaurant versions I’ve tried.
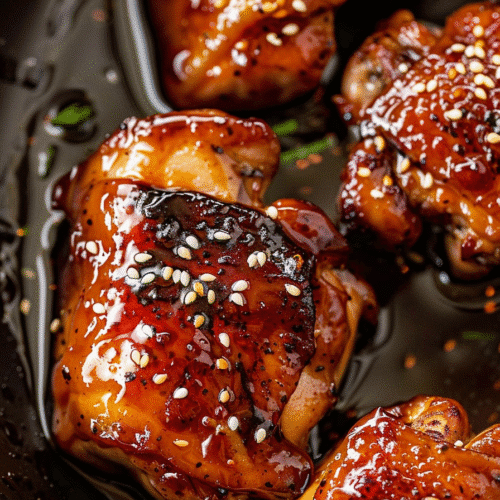
Authentic Teriyaki Air Fryer Chicken
Equipment
- Air fryer (5.8-quart or larger)
- Small Saucepan
- Pastry brush
- Perforated parchment paper
- Instant-read thermometer
Ingredients
- For the Chicken:
1.5 lbs boneless chicken thighs
1/2 teaspoon salt
1/4 teaspoon black pepper
- For the Teriyaki Sauce:
1/2 cup soy sauce
1/4 cup mirin
2 tablespoons sake (or dry white wine)
2 tablespoons sugar
- For Garnish:
2 green onions, sliced
1 tablespoon sesame seeds
Instructions
Make sauce: In a small saucepan, combine soy sauce, mirin, sake, and sugar. Simmer 8-10 minutes until reduced by half and glossy. Set aside to cool slightly.
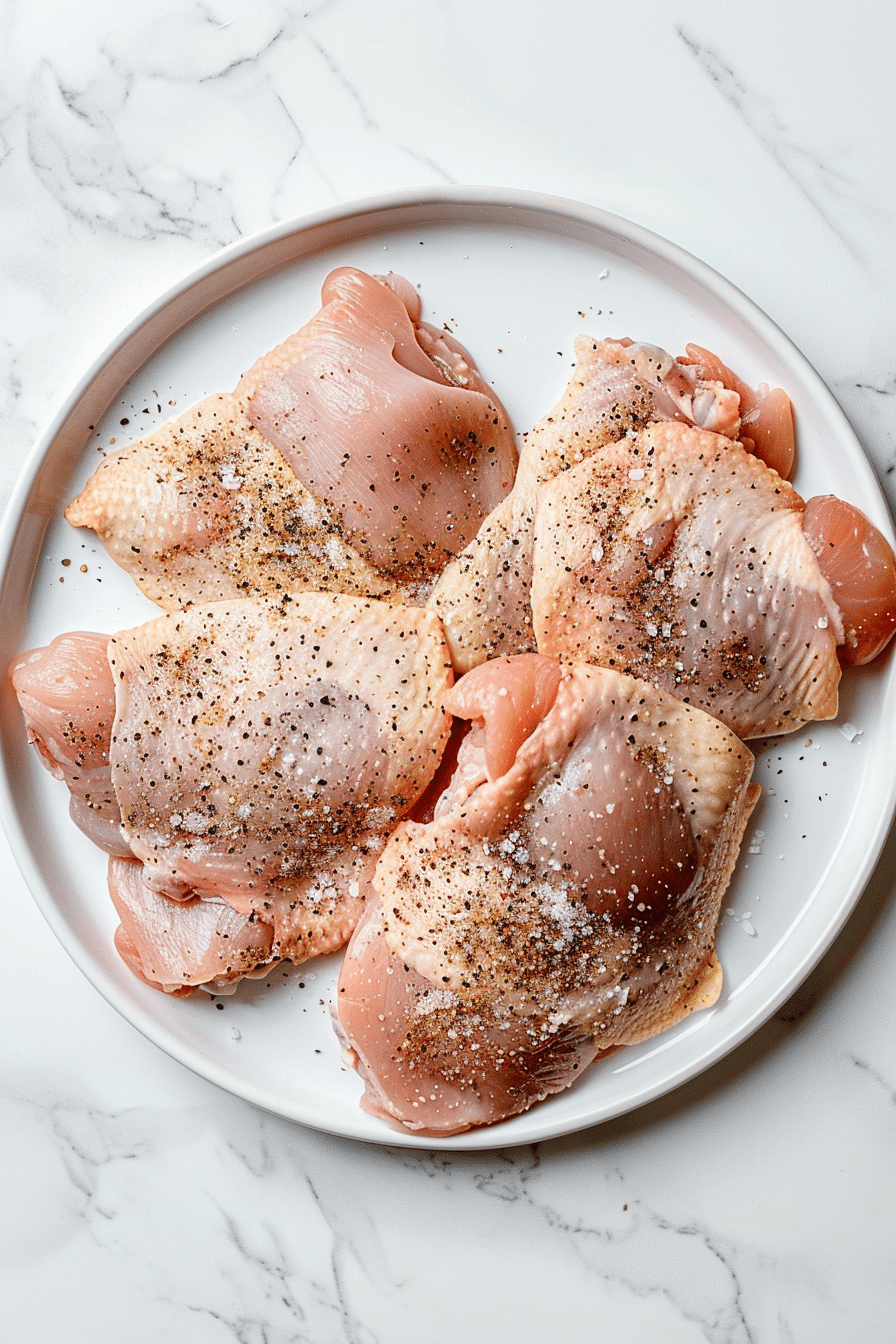
Prep chicken: Pat chicken dry and season with salt and pepper. Let come to room temperature for 15 minutes.
Preheat: Heat air fryer to 375°F for 4-6 minutes.
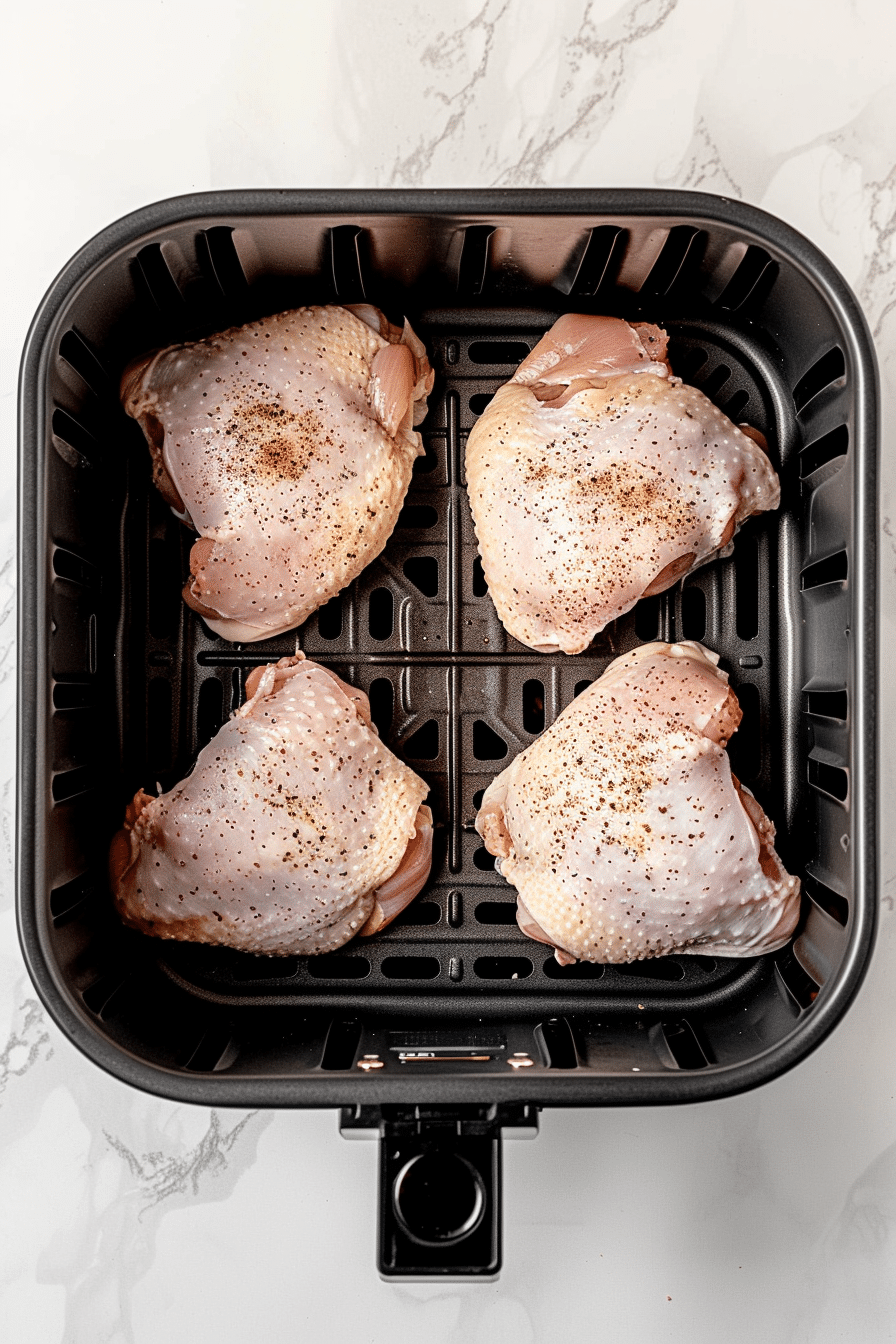
First cook: Place chicken on perforated parchment in air fryer. Cook 12 minutes, flipping once halfway through.
First glaze: Brush chicken with half the teriyaki sauce. Cook 4 more minutes.
Final glaze: Brush with remaining sauce. Cook 2-3 minutes until glaze is glossy and caramelized.
Rest and serve: Let rest 3 minutes. Garnish with green onions and sesame seeds.
Notes
- Don’t add sauce until chicken is fully cooked (165°F internal temperature)
- Watch glaze carefully during final stage to prevent burning
- Use tamari instead of soy sauce for gluten-free version
- Sauce can be made up to 2 weeks ahead and refrigerated
- If glaze gets too thick, thin with 1 tablespoon water or mirin
Nutrition
Essential Tips for Perfect Teriyaki Air Fryer Chicken
Choosing the Right Chicken for Teriyaki
For teriyaki, I’m team boneless thighs all the way – they have enough fat to stay juicy through the multiple cooking phases, and their flat surface is perfect for sauce adhesion. I usually get thighs that are roughly the same size, around 6-8 ounces each, so they cook evenly.
You can absolutely use chicken breast, but you’ll need to pound them to an even thickness first. Teriyaki requires longer cooking than some of my other recipes because of the glazing process, and breast meat can dry out if it’s not carefully managed. If you go the breast route, consider cutting them into smaller pieces to reduce cooking time.
Skin-on versus skinless is a personal choice, but I prefer skinless for teriyaki. The sauce penetrates better, and you don’t have to worry about the skin getting rubbery under all that glaze. Save skin-on pieces for recipes where crispy skin is the star.
Making Authentic Teriyaki Sauce from Scratch
Here’s where most people go wrong – they think teriyaki sauce is just bottled sauce from the grocery store. Real teriyaki sauce has four ingredients: soy sauce, mirin, sake, and sugar. That’s it. The magic happens in the ratios and the reduction process.
My go-to ratio is 1/2 cup soy sauce, 1/4 cup mirin, 2 tablespoons sake, and 2 tablespoons sugar. If you can’t find sake, dry white wine works, and if mirin isn’t available, you can substitute with 2 tablespoons rice vinegar plus an extra tablespoon of sugar. But honestly, it’s worth seeking out the real ingredients – the flavor difference is dramatic.
I make my sauce in a small saucepan, bringing everything to a simmer and cooking until it reduces by about half. This concentrates the flavors and gives you that glossy, coating consistency that makes teriyaki so appealing. The whole process takes maybe 10 minutes, and you can make big batches and store it in the fridge for up to two weeks.
How to Cook Teriyaki Chicken in Air Fryer
Air Fryer Setup for Perfect Teriyaki
Preheat your air fryer to 375°F – slightly lower than my other chicken recipes because we’re going to be adding sugar-based sauce that can burn easily at higher temperatures. My Cosori takes about 4 minutes to reach this temperature, while the Ninja Foodi needs closer to 6.
Line your basket with perforated parchment paper – trust me on this one. Teriyaki sauce gets sticky as it caramelizes, and cleanup without parchment is a nightmare. Make sure the parchment has holes for air circulation, or the whole process won’t work properly.
Season the chicken lightly with just salt and pepper. You don’t want to compete with the teriyaki flavors, so keep it simple at this stage. The sauce will provide all the complexity you need.
The Three-Stage Teriyaki Cooking Process
Stage one is cooking the chicken plain for 12 minutes at 375°F, flipping once halfway through. You want the chicken cooked through and lightly golden before you introduce any sauce. This prevents the sugars from burning while the meat finishes cooking.
Stage two is the first glaze application. Brush about half your teriyaki sauce onto both sides of the chicken and cook for another 4 minutes. You’ll start to see the sauce caramelizing and turning that beautiful mahogany color that makes teriyaki so visually appealing.
Stage three is the final glaze. Add the remaining sauce and cook for 2-3 more minutes, just until the sauce becomes glossy and sticky. Don’t go longer than this or you’ll cross from caramelized into burnt territory.
Getting That Perfect Glossy Finish
The secret to restaurant-quality teriyaki glaze is patience during that final stage. You want the sauce to bubble and thicken, but not burn. If you see any black spots forming, immediately reduce the temperature by 25 degrees and reduce the time.
During the last cooking stage, I actually watch through the air fryer window (if your model has one) to monitor the glaze development. You’re looking for that moment when the sauce goes from wet and loose to glossy and coating. It happens quickly, so don’t walk away.
The glaze should coat the chicken like lacquer when it’s done – thick enough to cling but not so thick that it’s gummy. If your sauce reduces too much and becomes too thick, you can thin it with a tablespoon of water or additional mirin.
Pro Tips from My Kitchen
Temperature adjustments I’ve discovered through trial and error: if your air fryer runs hot (like my old Hamilton Beach did), drop the temperature to 350°F for the glazing stages. Sugar burns fast, and there’s no coming back from that bitter taste once it happens.
Batch cooking strategies work beautifully with this recipe. I often make double portions and keep half plain for the kids, then glaze the other half for the adults. According to the USDA’s food safety guidelines, cooked chicken should reach an internal temperature of 165°F, which happens naturally during the first 12-minute cooking stage, so you’re safe to customize from there.
Common mistakes I see people make: rushing the sauce reduction, using too high heat during glazing, and not letting the chicken rest for a few minutes after cooking. That resting time lets the glaze set up properly and redistributes the juices.
Model-specific quirks I’ve encountered: basket-style air fryers work better for this recipe than toaster oven-style because the concentrated heat circulation is more intense. If you’re using a larger toaster oven model, you might need to add 2-3 minutes to each cooking stage.
Consumer Reports’ testing has shown that different air fryer models can vary by up to 50 degrees in actual temperature versus what the display shows, so investing in a separate oven thermometer has been a game-changer for consistent results across different batches.
Best Serving Ideas for Teriyaki Chicken
This teriyaki chicken is absolutely gorgeous served over steamed white rice with some sesame seeds and sliced green onions. The sauce from the chicken flavors the rice, and it becomes this complete, satisfying meal that feels much fancier than the effort required.
For a more complete Japanese-inspired meal, I’ll serve it with miso soup and a simple cucumber salad dressed with rice vinegar. Emma loves when I make this combination because it feels like eating at a real Japanese restaurant.
The leftovers make incredible bento box components. I’ll slice the chicken and serve it over rice with some steamed vegetables and maybe a hard-boiled egg. It’s Tyler’s favorite lunch when I pack it for school – he says his friends are always jealous.
For entertaining, I sometimes serve this as an appetizer by cutting the chicken into smaller pieces and arranging them on a platter with toothpicks. The glaze makes each piece look incredibly appetizing, and they disappear faster than I can make them.
Storage and Reheating Tips
Teriyaki chicken keeps beautifully in the refrigerator for up to 4 days. The sauce actually continues to penetrate the meat as it sits, so day-two teriyaki is often even more flavorful than fresh. Store it in an airtight container, and don’t worry if the sauce thickens up – that’s normal.
For reheating, I use the air fryer at 350°F for 3-4 minutes. The glaze warms up and becomes glossy again, almost like it was just made. Avoid the microwave if possible – it can make the glaze gummy and doesn’t do the chicken texture any favors.
Cold teriyaki chicken is actually delicious too. I’ll often eat leftover pieces straight from the fridge, or slice them for salads. The concentrated flavors work really well at room temperature.
Teriyaki Air Fryer Chicken Variations
Once you master the basic technique, teriyaki becomes a template for so many variations. Spicy teriyaki with added sriracha or chili garlic sauce is incredible – just add it during the final glazing stage to prevent burning.
Pineapple teriyaki is Emma’s current favorite – I add crushed pineapple to the sauce during the reduction process. It adds this tropical sweetness that somehow makes the umami flavors even more pronounced.
For a more complex flavor profile, I sometimes add fresh ginger and garlic to the sauce reduction. It creates this aromatic base that takes the whole dish to another level. Just strain out the solids before using the sauce on the chicken.
Sesame teriyaki is gorgeous – add sesame oil to the final glaze and sprinkle with sesame seeds during the last minute of cooking. The nutty flavor complements the sweet-savory base perfectly.
Conclusion
This teriyaki air fryer chicken has become my go-to recipe when I want to make something that feels special but isn’t actually complicated. There’s something deeply satisfying about watching that glaze develop and knowing you’ve created something that tastes authentically Japanese using just an air fryer and a few simple ingredients.
The technique translates beautifully to other proteins too – I’ve used this same method for salmon, pork, and even firm tofu with incredible results. Once you understand the glazing process, you’ll find yourself applying it to all sorts of dishes.
Teriyaki Air Fryer Chicken FAQ
Can I use store-bought teriyaki sauce?
You can, but reduce it first in a saucepan until it’s thicker and more concentrated. Most bottled sauces are too thin and sweet for this cooking method. Look for brands with minimal ingredients and no corn syrup.
What if I don’t have mirin or sake?
Substitute mirin with rice vinegar plus extra sugar (2 tablespoons vinegar + 1 tablespoon sugar). For sake, use dry white wine or even dry sherry. The flavor won’t be identical, but it’ll still be delicious.
Why does my glaze burn?
Usually the temperature is too high or you’re adding sauce too early. Make sure the chicken is fully cooked before the first glaze application, and keep the temperature at 375°F or lower during glazing stages.
Can I make this with chicken breast?
Yes, but pound it to even thickness first and reduce total cooking time by 3-4 minutes. Breast meat cooks faster and can dry out more easily with the extended glazing process.
How do I know when the glaze is perfect?
It should coat the chicken like lacquer – glossy and thick enough to cling, but not gummy. If you can draw a line through the glaze with your finger and it stays, it’s ready.
Can I double this recipe?
Absolutely, but you may need to cook in batches depending on your air fryer size. Don’t overcrowd the basket, as this prevents proper air circulation and even glazing.

