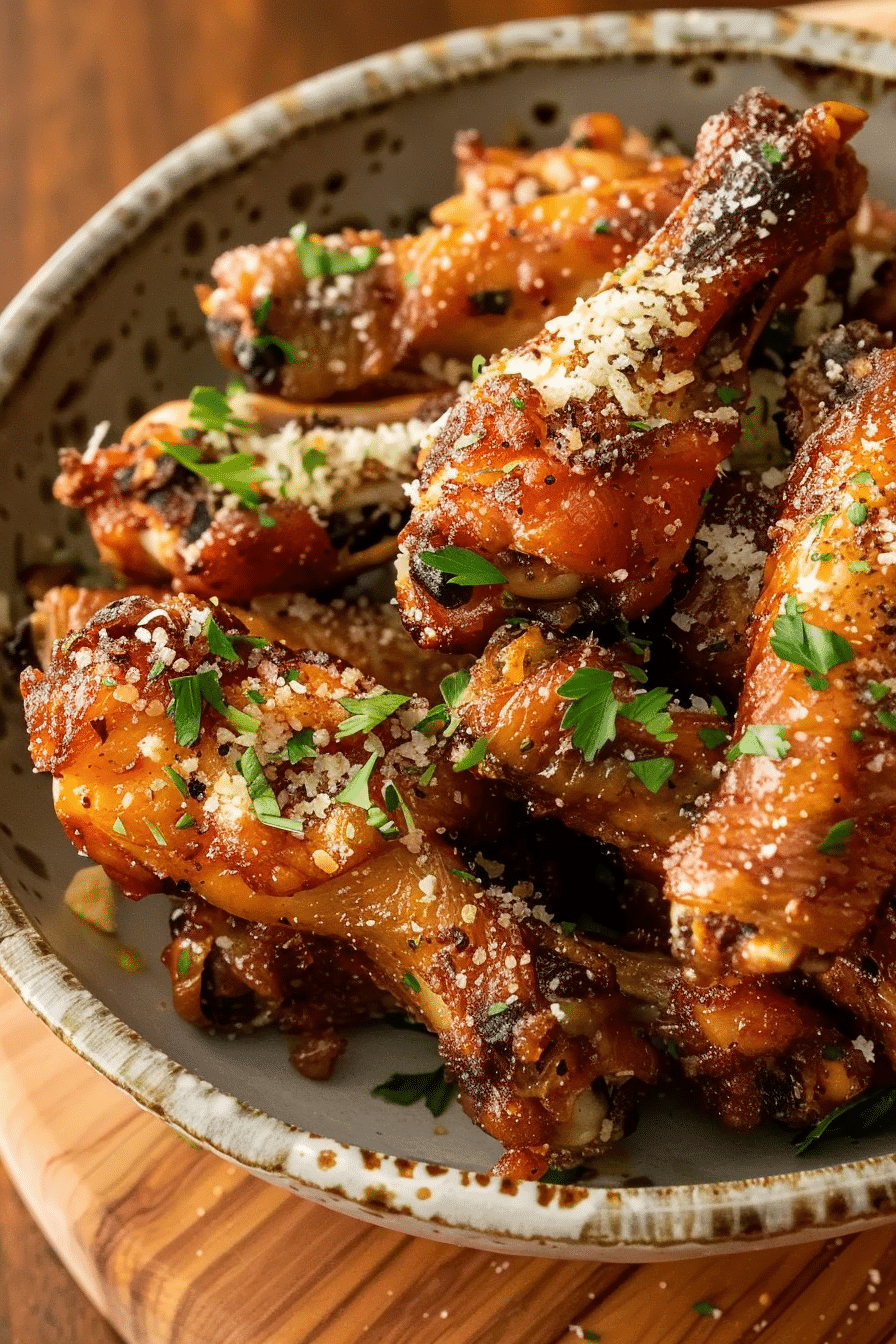
Perfect garlic parmesan air fryer wings start with getting that golden, crispy exterior while keeping every bite juicy and packed with flavor. I discovered this winning combination last spring when Jake was craving wings from our favorite spot in Park Slope, but I was determined to make something even better right here in our shoebox kitchen. After burning through three different coating methods and nearly setting off the smoke alarm twice, I finally cracked the code.
If you’ve been following my [Air Fryer Chicken Recipes] collection, you know I’m obsessed with getting restaurant-quality results without the mess and oil of traditional frying. But garlic parmesan wings were my white whale until I figured out the secret of double-coating and strategic timing. Now these wings disappear faster than I can make them – Tyler actually hid a batch in his room last week because he didn’t want to share with his sister.
In this guide, I’ll walk you through my foolproof method for wings that taste like they came from the best wing joint in Brooklyn, plus all the little tricks I’ve learned from making these beauties at least twice a month. Trust me, once you nail this technique, you’ll never want to order delivery wings again.

Table of Contents
Why Garlic Parmesan Air Fryer Wings Work Perfectly in the Air Fryer
Here’s the thing about wings – they’re basically built for air frying. I figured this out the hard way after years of dealing with splattered oil all over my tiny stovetop and that lingering fried smell that takes forever to air out of our apartment. The circulating hot air creates this incredible crispy skin while the fat renders out naturally, leaving you with wings that are actually less greasy than traditional fried ones.
The garlic parmesan coating was where I had to get creative. Most recipes just toss cooked wings in garlic butter and cheese, which works fine but doesn’t give you that crispy, restaurant-style coating. I learned that the secret is creating two distinct layers – a seasoned flour base that crisps up during cooking, and then that rich garlic parmesan finish that gets added halfway through. The result? Wings with incredible texture and flavor that builds with every bite.
My Cosori handles wings beautifully at 380°F, though I’ve tested this in my Ninja Foodi too and found that bumping it up to 390°F gives similar results. The even heat distribution means no more flipping wings constantly or dealing with unevenly cooked pieces. And let me tell you, the cleanup is a dream compared to deep frying.
Essential Preparation Tips for Perfect Garlic Parmesan Wings
Choosing the Right Wings for Air Frying
I always grab the party wings from my local grocery store – you know, the ones that are already separated into flats and drumettes. Fresh is definitely better than frozen here, though I’ve made frozen ones work in a pinch. The key is looking for wings that aren’t too huge because they need to cook evenly, and honestly, my air fryer basket has its limits.
Size matters more than you’d think. Wings that are too big won’t cook through properly in the center, and tiny ones can overcook and dry out. I aim for pieces that are roughly the same size so they finish cooking at the same time. When Emma helps me sort them, we always joke that it’s like organizing a very delicious puzzle.
Pre-Cooking Prep Secrets for Crispy Garlic Parmesan Wings
This step is crucial – pat those wings completely dry with paper towels. I mean bone dry. Any moisture left on the skin will steam instead of crisp, and nobody wants soggy wings. I actually let them sit on a wire rack in the fridge for about an hour if I have time, which helps draw out even more moisture.
The seasoning blend gets mixed right before coating. I’ve learned that pre-mixing garlic powder with salt can sometimes clump up, especially in our humid Brooklyn summers. Fresh garlic gets saved for the butter sauce – using it in the initial coating just burns and tastes bitter.
Room temperature matters too. Wings straight from the fridge cook unevenly, with the outside getting overdone before the inside is properly heated through. I pull them out about 20 minutes before cooking, which is usually just enough time to get my coating station set up and maybe grab that second cup of coffee.

Garlic Parmesan Air Fryer Wings
Equipment
- Air fryer (5.8-quart recommended)
- Large mixing bowl
- Tongs
- Small Saucepan (for melting butter)
Ingredients
- For the Wings:
2 lbs chicken wings, separated into flats and drumettes
1/2 cup all-purpose flour
1 tsp garlic powder
1 tsp onion powder
1 tsp paprika
1/2 tsp salt
1/4 tsp black pepper
Cooking spray
- For the Garlic Parmesan Sauce:
4 tbsp butter, melted
4 cloves garlic, minced
1/2 cup freshly grated Parmesan cheese, divided
2 tbsp fresh parsley, chopped
1/4 tsp salt
Instructions
Pat wings completely dry with paper towels. Let sit at room temperature for 20 minutes.
Preheat air fryer to 380°F for 3 minutes.
In a large bowl, combine flour, garlic powder, onion powder, paprika, salt, and pepper. Toss wings in the flour mixture until evenly coated.
Spray air fryer basket with cooking oil. Arrange wings in a single layer without overcrowding (cook in batches if necessary).
Cook for 12 minutes without opening the air fryer.
Meanwhile, make the sauce by combining melted butter, minced garlic, and salt.
At 12 minutes, flip wings with tongs. Cook another 3 minutes.
Brush wings with half the garlic butter sauce and sprinkle with half the Parmesan cheese.
Cook for 5-7 more minutes until golden brown and crispy.
Remove wings and immediately toss with remaining garlic butter sauce and Parmesan cheese. Garnish with fresh parsley.
Notes
- Air fryer models may vary – check wings 2-3 minutes early the first time
- Wings are done when internal temperature reaches 165°F
- Don’t overcrowd the basket for best results
- Leftover wings reheat well in the air fryer at 350°F for 3-4 minutes
- For extra crispy wings, pat completely dry and let sit uncovered in refrigerator for 1 hour before cooking
Nutrition
Step-by-Step Garlic Parmesan Air Fryer Wings Process
Setting Up Your Air Fryer
I preheat my air fryer to 380°F for about 3 minutes. And yes, preheating matters with wings – it jumpstarts that crisping process and helps prevent sticking. I learned this the hard way when I tried to rush the process and ended up with wings that stuck to the basket like glue.
No parchment paper for wings! I know I use it for other recipes, but wings have enough natural fat that they won’t stick once they start cooking, and the direct contact with the basket helps with browning. I do give the basket a light spray with cooking oil, but honestly, it’s probably not even necessary.
For arrangement, I make sure there’s space between each piece. Overcrowding is the enemy of crispy wings. I’d rather cook in two batches than try to cram everything in at once. In my 5.8-quart Cosori, I can comfortably fit about 12-15 pieces depending on size.
During Cooking
The first 12 minutes are hands-off time. Don’t peek, don’t shake – just let the hot air work its magic. I use this time to make the garlic parmesan butter sauce because timing is everything with this recipe.
At the 12-minute mark, I flip each wing and give them a quick toss with tongs. This is when I check for that first stage of browning. The skin should be starting to look golden and feel firmer when you touch it with the tongs. If they’re still looking pale, I add another 2-3 minutes before moving to the next step.
Here’s where the magic happens – at about the 15-minute mark, I brush each wing with my garlic butter mixture and sprinkle with the first round of parmesan. Then back in for another 5-7 minutes. The butter helps the cheese stick and creates this incredible golden coating that crisps up beautifully.
Finishing Touches
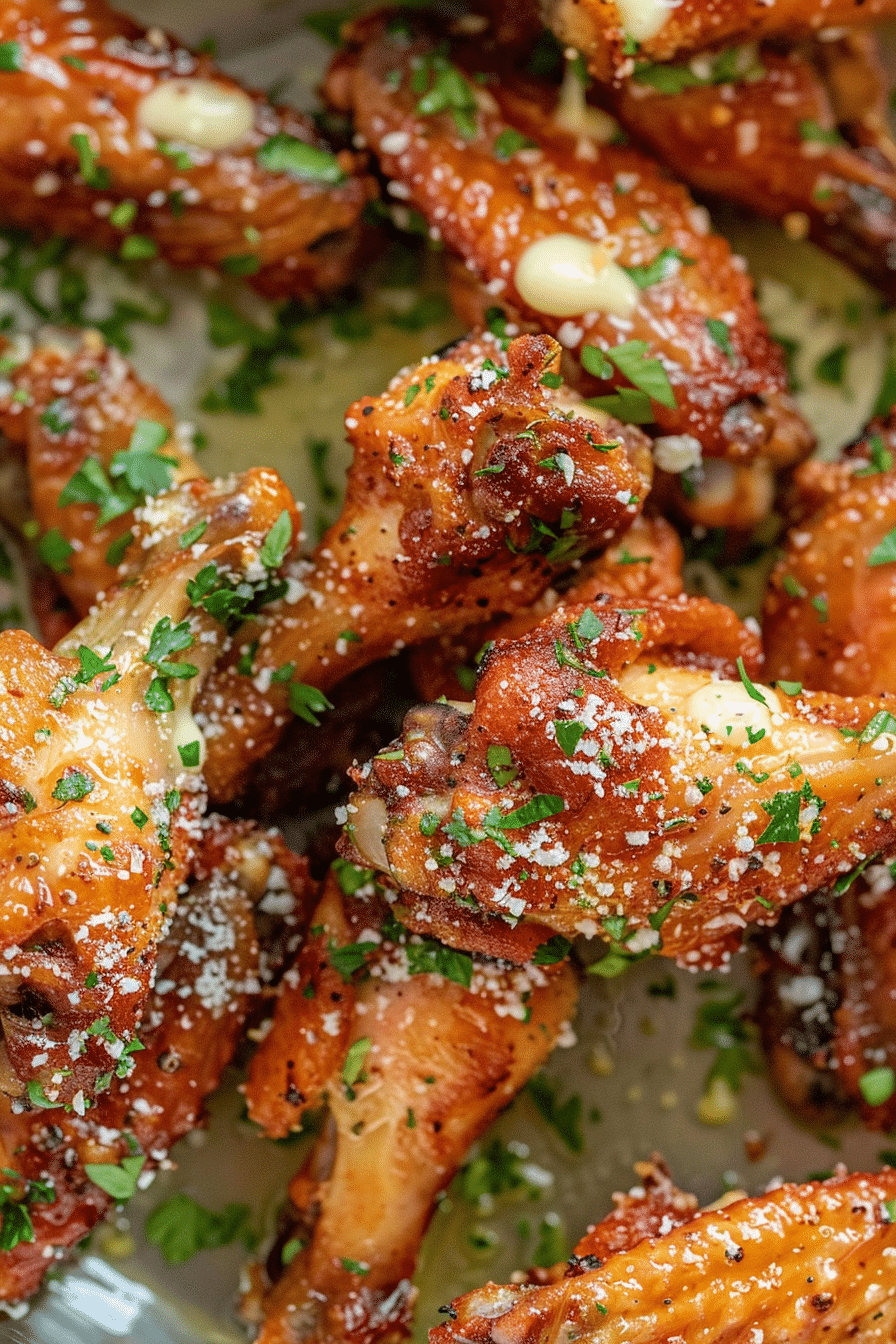
The final coating happens after cooking. I toss the hot wings in the remaining garlic butter sauce and finish with fresh parmesan and chopped parsley. The heat from the wings melts everything together into this glossy, flavorful coating that clings to every crispy ridge.
Timing is everything here – if you wait too long, the wings cool down and the sauce doesn’t stick properly. But if you rush it and the wings are too hot, the parmesan can clump. I’ve found that letting them rest for just about 2 minutes after cooking gives me the perfect window.

Pro Tips from My Kitchen
Temperature variations between air fryer models are real. My neighbor has the same Cosori as me, but hers runs about 10 degrees hotter. I always tell people to check their wings a few minutes early the first time and adjust from there. Better to add time than to deal with burnt garlic.
The garlic butter sauce can be made ahead and gently rewarmed. I actually prefer it that way because the flavors have more time to meld together. Just don’t let it boil when you reheat it, or the butter will separate.
For extra crispy wings, I sometimes do a double-cook method. First round at 350°F for 20 minutes, then bump up to 400°F for the last 5 minutes with the garlic butter coating. It’s not always necessary, but when I want to really show off, this technique delivers restaurant-level results.
Batch cooking is your friend. I often make a double batch because these wings are just as good reheated the next day. Plus, having leftover wings means I can chop them up for salads or wraps during the week.
Serving and Storage
Serving Suggestions
These wings are perfect for game day, obviously, but I’ve served them at birthday parties, book club meetings, and even as the main course for dinner with some roasted vegetables on the side. Jake always requests them for his fantasy football draft, and they’ve become legendary among his friends.
For dipping sauces, ranch and blue cheese are classics, but I love serving them with a simple yogurt-based herb dip or even just extra garlic butter for drizzling. The wings are flavorful enough to stand alone, but sometimes you want that extra indulgence.
Presentation-wise, I serve them on a large platter with plenty of napkins and wet wipes nearby. There’s no elegant way to eat wings, so I embrace the messiness. I always put out small bowls for the bones too – learned that lesson after finding chicken bones hidden behind couch cushions.
Storage and Reheating
Leftover wings (if there are any) store beautifully in the refrigerator for up to 3 days. I keep them in a covered container, but I don’t worry too much about making them airtight – you want some air circulation to prevent sogginess.
For reheating, the air fryer wins again. Just 3-4 minutes at 350°F brings back most of that crispy texture. Don’t microwave them – you’ll end up with sad, chewy wings that bear no resemblance to the crispy beauties you started with.
If you’re making them for meal prep, I actually prefer to store the cooked wings separately from any extra sauce and toss them together after reheating. This prevents the coating from getting soggy during storage.
Variations to Try
The basic technique works with so many different flavors. I’ve done honey garlic (add honey to the butter sauce), spicy parmesan (add red pepper flakes), and even a lemon pepper version that Tyler surprisingly loved.
For a healthier twist, I sometimes use nutritional yeast instead of half the parmesan cheese. It gives you that nutty, cheesy flavor with less sodium and more protein. Jake can’t tell the difference, which is saying something because he’s very particular about his wing flavors.
Buffalo-parmesan hybrid wings are incredible too. I add a tablespoon of hot sauce to the garlic butter mixture for that tangy kick with the rich parmesan finish. It’s like getting the best of both wing worlds in one bite.
I tried an herb-crusted version last month by adding Italian seasoning to the flour mixture. Good, but not as good as the classic. Sometimes simple is better, you know?
conclusion
Once you master this technique, you’ll wonder why you ever ordered wings for delivery. There’s something incredibly satisfying about pulling these golden, crispy beauties out of your own kitchen and watching people’s faces light up with that first bite. Jake still brags to his coworkers about “his wife’s famous wings,” which cracks me up because we all know he can barely operate the microwave. But hey, I’ll take the credit where I can get it.
Frequently Asked Questions
Can I cook these from frozen?
Yes, but add about 5-7 minutes to the total cooking time and make sure they’re completely thawed and patted dry before adding the garlic butter coating. Frozen wings tend to release more moisture, so getting them crispy takes a bit longer.
Why aren’t my wings getting crispy enough?
Nine times out of ten, it’s a moisture issue. Make sure your wings are completely dry before seasoning, don’t overcrowd the basket, and resist the urge to keep opening the air fryer to check on them. Also, make sure your air fryer is fully preheated – that initial blast of hot air is crucial.
Can I double this recipe?
Absolutely, but you’ll need to cook in batches. Overcrowding leads to steamed wings instead of crispy ones. I usually do two batches of 12-15 wings each. The good news is that the first batch stays warm while you cook the second if you tent them with foil.
What if I don’t have garlic powder – can I use fresh garlic?
Fresh garlic burns easily at high temperatures, so save it for the butter sauce only. If you’re out of garlic powder, onion powder actually works surprisingly well, or you can just increase the fresh garlic in the finishing sauce.
How do I prevent the parmesan from burning?
Add the cheese coating partway through cooking, not at the beginning. I brush with the garlic butter at the 15-minute mark, add cheese, then finish cooking. The cheese gets golden and crispy without burning this way.
Are these healthier than traditional fried wings?
They’re definitely less greasy since there’s no oil for deep frying, and you’re not adding extra fat beyond what’s naturally in the chicken skin. The air fryer actually renders out some of the fat, so you end up with fewer calories per wing. Plus, no oil disposal mess!
Can I make these ahead for a party?
The wings are best served immediately after cooking, but you can prep all your components ahead of time. Mix the seasoning blend, make the garlic butter sauce, and even coat the wings with the flour mixture earlier in the day. Then it’s just 25 minutes in the air fryer when your guests arrive.

