Buttermilk air fryer fried chicken delivers that perfect golden crust and juicy interior without the mess of deep frying, and trust me when I say it tastes exactly like the real deal. I discovered this game-changing technique last summer when Jake’s mom visited from Atlanta – she’s one of those Southern cooks who judges everything by her grandmother’s standards – and she literally asked me for the recipe after taking one bite.
If you’ve been following my [Air Fryer Chicken Recipes] collection, you know I’m obsessed with getting restaurant-quality results at home without heating up a giant pot of oil in my tiny Brooklyn kitchen. But buttermilk fried chicken was my white whale until I cracked the code on this method that creates the most incredible crispy coating you’ve ever experienced.
In this guide, I’ll walk you through my foolproof technique for buttermilk air fryer fried chicken that rivals any Southern kitchen, plus all the pro tips I’ve learned from making this recipe at least fifty times (no joke – Emma’s friends request it for every sleepover). You’ll get that signature tangy flavor from the buttermilk marinade and a coating so crispy it actually crunches when you bite into it.
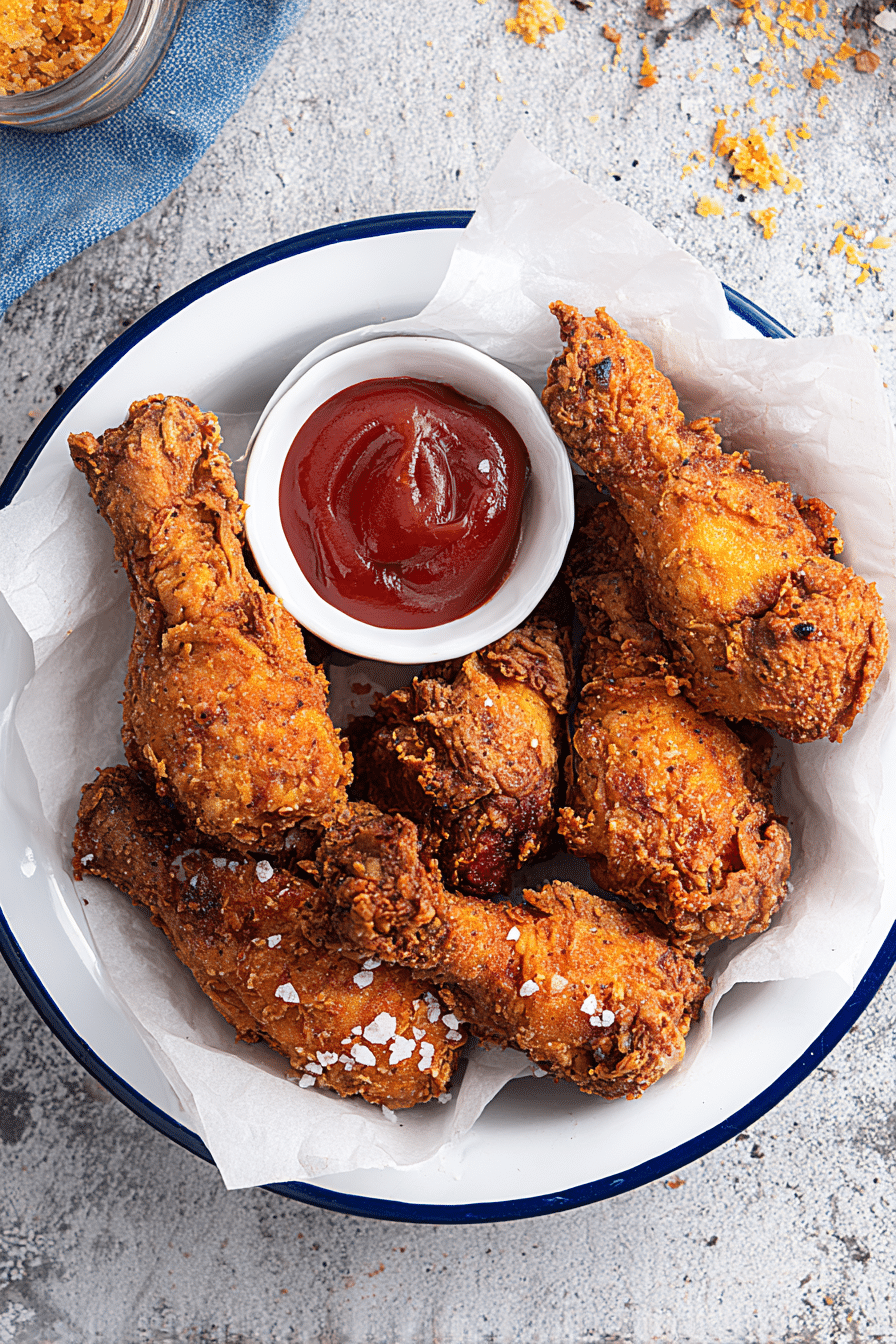
Table of Contents
Why This Buttermilk Air Fryer Fried Chicken Works So Well
Here’s the thing about traditional fried chicken – it’s absolutely delicious, but making it at home usually means dealing with splattering oil, lingering smells, and a kitchen that looks like a crime scene afterward. I used to avoid making it because cleaning up after deep frying in our small apartment was honestly more work than the cooking itself.
The magic happens because air fryers circulate super-heated air at incredible speed, creating what food scientists call the Maillard reaction – that beautiful browning that develops flavor and texture. According to America’s Test Kitchen’s research on air frying techniques, when you combine that intense heat circulation with just a light coating of oil, you get the same crispy exterior as deep frying but with about 80% less oil. The buttermilk marinade keeps the chicken incredibly moist while adding that signature tang that makes Southern fried chicken so addictive.
What really convinced me this method works was when I made it for my neighbor’s backyard barbecue last August. Three different people asked if I’d picked it up from the new Southern place on Fifth Avenue – and when I told them it came from my air fryer, they literally didn’t believe me until I showed them the basket still sitting on my counter.
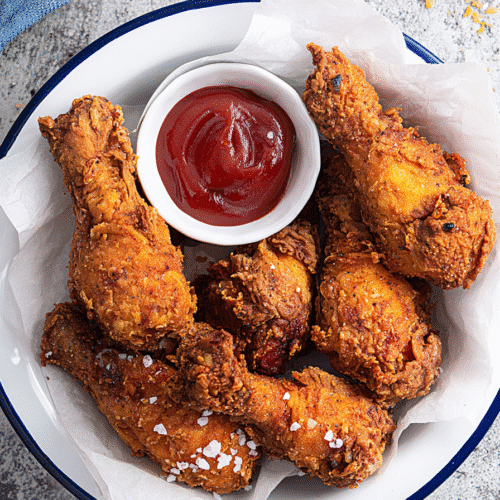
Buttermilk Air Fryer Fried Chicken
Equipment
- Air fryer (5-6 quart capacity recommended)
- Instant-read thermometer
- Wire cooling rack
- Large mixing bowls
- Cooking spray bottle
Ingredients
2 lbs bone-in, skin-on chicken pieces
2 cups buttermilk
2 cups all-purpose flour
1 tablespoon paprika
Various seasonings (garlic powder, thyme, etc.)
ketchup dip
Instructions
Marinate chicken in buttermilk mixture
Prepare seasoned flour coating
Preheat air fryer to 375°F
Coat chicken pieces thoroughly
Cook in batches, flipping halfway
Check internal temperature reaches 165°F
Notes
- Not overcrowding the basket
- Air fryer model variations
- Storage and reheating instructions
- Temperature safety guidelines
Nutrition
Essential Preparation Tips
Choosing the Right Chicken Pieces
For the best results, I always go with bone-in, skin-on pieces – drumsticks and thighs are my absolute favorites because they stay incredibly juicy and the bones help conduct heat evenly. The skin becomes ridiculously crispy in the air fryer, so don’t even think about removing it. If you can only find boneless pieces, chicken thighs work better than breasts because they won’t dry out as easily.
Size matters more than you’d think. I aim for pieces that are roughly the same thickness so they cook evenly – if you’ve got one massive drumstick and a bunch of smaller ones, the big guy will still be raw when the others are perfect. I’ve learned to save the oversized pieces for another batch or pound them down a bit with a meat mallet.
Fresh chicken always beats frozen for this recipe, but if frozen is what you’ve got, make sure it’s completely thawed and patted dry. I once tried to rush the process with partially frozen chicken and ended up with soggy coating – learned that lesson the hard way during a dinner party.
Pre-Cooking Prep Secrets
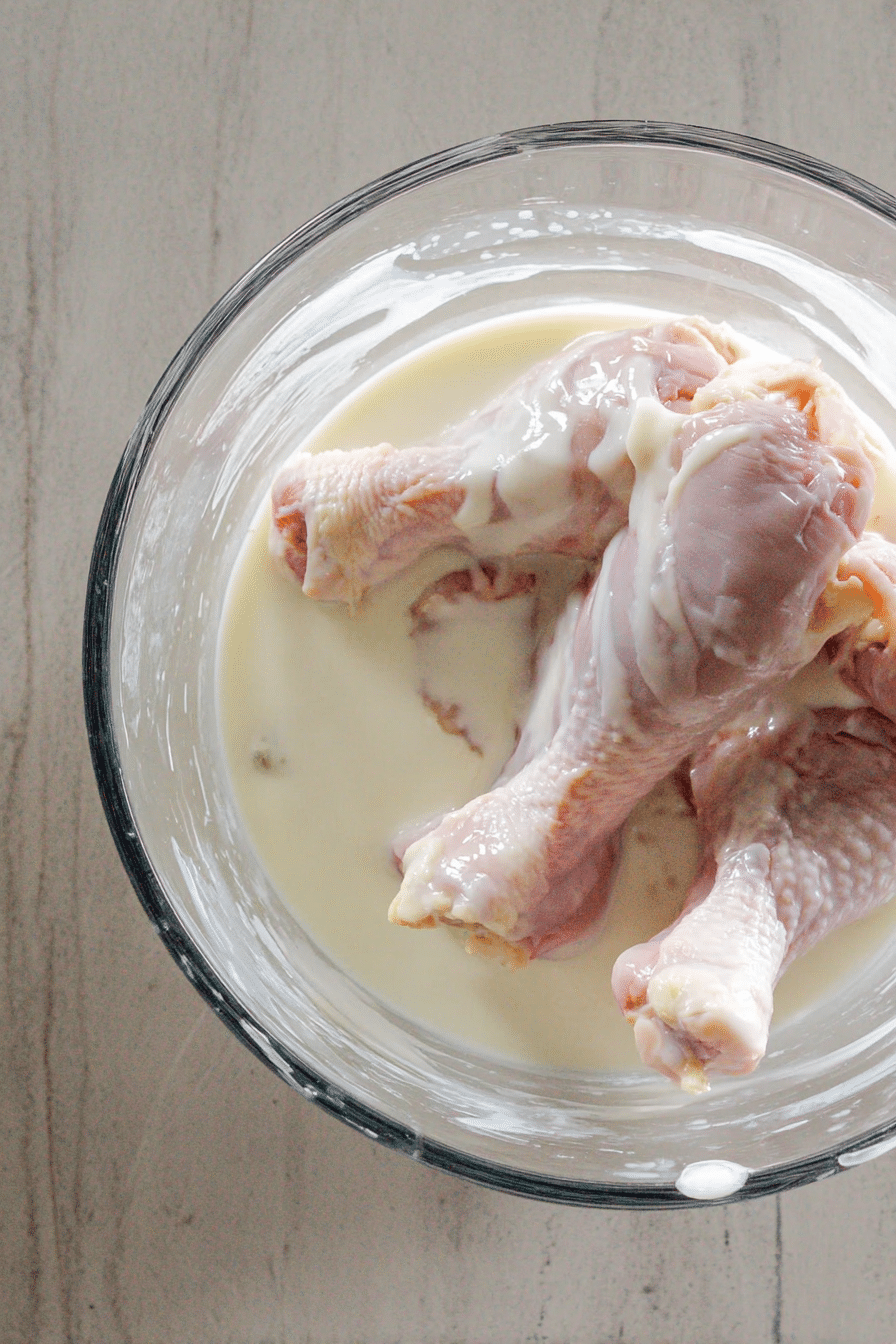
The buttermilk marinade is where the magic starts. Real buttermilk has natural enzymes that break down proteins, making the chicken incredibly tender while adding that tangy flavor that makes your mouth water. I marinate for at least 4 hours, but overnight is even better – I’ve done up to 24 hours and the results were incredible.
Temperature is crucial here. Take your chicken out of the fridge about 30 minutes before cooking so it’s not ice-cold when it hits the air fryer. Cold chicken creates uneven cooking and can leave you with a perfect exterior but undercooked center – something I learned during my early air fryer experiments when I was too impatient to wait.
Pat everything completely dry before coating. I’m talking paper-towel-dry. Any excess moisture will create steam instead of that crispy coating we’re after, and trust me, nobody wants steamed fried chicken.
Step-by-Step Cooking Process
Setting Up Your Air Fryer
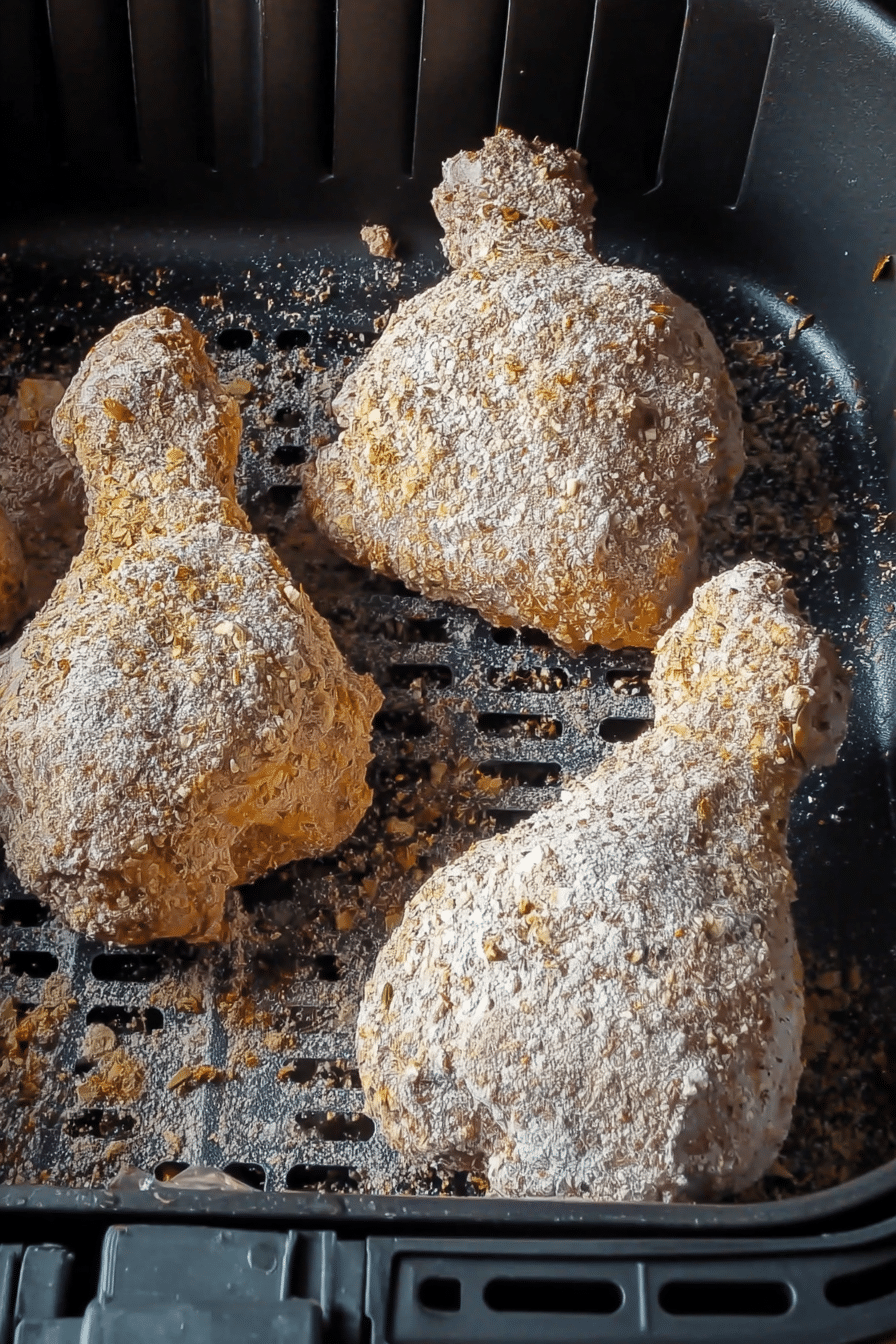
I preheat my Cosori to 375°F for about 5 minutes – some people skip preheating, but I’ve found it makes a huge difference in getting that initial sear on the coating. While it’s heating up, I lightly spray the basket with cooking oil to prevent sticking. Don’t go crazy with the oil here; just a light coating is perfect.
Arrangement is everything in air fryer cooking. Give each piece enough space for air to circulate – if they’re touching, you’ll get soggy spots where the hot air can’t reach. I usually cook 4-5 pieces at a time in my 5.8-quart basket, which means making this in batches for my family of four.
According to the USDA’s food safety guidelines, chicken needs to reach an internal temperature of 165°F to be safe to eat, so having a good instant-read thermometer is honestly essential for this recipe.
During Cooking
The first 12 minutes are hands-off time – resist the urge to open that basket! I know it’s tempting, but every time you peek, you’re letting out the hot air that’s creating that beautiful crust. Set a timer and trust the process.
At the 12-minute mark, it’s flip time. This is when I check for any pale spots that need more oil and give them a quick spray. The coating should be starting to turn golden brown, and you’ll smell that incredible fried chicken aroma filling your kitchen.
Watch for visual cues during the final 8-10 minutes. You want deep golden brown color and when you look closely, you should see little darker spots forming – that’s the coating getting perfectly crispy. If your air fryer runs hot (like my old Ninja used to), you might need to drop the temperature to 350°F for the last few minutes.
Finishing Touches
Don’t skip the resting period – I let my chicken sit for about 5 minutes after cooking. This helps the juices redistribute and keeps the coating from getting soggy. I place finished pieces on a wire rack over a baking sheet, which keeps the bottom from steaming while I finish the remaining batches.
If you want to keep everything warm while cooking multiple batches, your oven set to 200°F works perfectly. Just don’t cover the chicken or you’ll lose that crispy coating you worked so hard to achieve.
Pro Tips from My Kitchen
Here’s something I discovered by accident: adding a tablespoon of the buttermilk marinade to your flour mixture creates little clumps that fry up into incredibly crispy bits. It happened when I was rushing one evening and some marinade dripped into my coating bowl – best mistake ever.
Temperature adjustments become second nature once you’ve made this a few times. My current Cosori runs about 25 degrees hotter than the setting, so I’ve learned to adjust accordingly. Keep notes on your specific air fryer’s quirks – they’re all a little different.
The biggest mistake I see people make is overcrowding the basket. I get it, you want to cook everything at once, but trust me, two batches of perfectly crispy chicken beats one batch of soggy disappointment. As Consumer Reports’ air fryer testing reveals, proper air circulation is crucial for even browning and cooking.
Batch cooking strategy: Start with drumsticks and thighs since they take longest, then move to wings or smaller pieces. Keep finished pieces warm in your oven while you work through the batches.
Serving and Storage
Serving Suggestions
This chicken is incredible on its own, but Jake’s family always expects it served with honey, hot sauce, and pickles – classic Southern style. Emma loves it chopped up over a salad with ranch dressing, and Tyler’s basketball teammates demolish it with mac and cheese and corn on the cob.
For a summer twist, I’ll serve it with watermelon salad and cornbread. During cooler months, it’s perfect with mashed sweet potatoes and green beans. The crispy coating holds up beautifully to sauces, so don’t be afraid to get creative with your favorites.
Presentation tip: Arrange pieces on a wooden cutting board with small bowls of different sauces. It looks restaurant-quality but takes literally thirty seconds to set up.
Storage and Reheating
Store leftover chicken in the refrigerator for up to 3 days in an airtight container. Don’t stack the pieces directly on top of each other – use parchment paper between layers to prevent the coating from getting soggy.
For reheating, your air fryer wins again. Three to four minutes at 350°F brings back most of that original crispiness. The oven works too – 375°F for about 8 minutes – but the air fryer method is definitely superior for maintaining that crunchy texture.
Never microwave leftover fried chicken unless you enjoy eating rubber. I learned this the hard way during a rushed lunch break, and it was honestly depressing.
Variations to Try
My honey-glazed version is a huge hit – just brush the chicken with honey mixed with a little sriracha during the last 2 minutes of cooking. The sugars caramelize beautifully and create this incredible sweet-heat combo that Jake can’t get enough of.
For spice lovers, add cayenne pepper and hot sauce to your buttermilk marinade. I’ve gone as high as 2 teaspoons of cayenne, and it delivers serious heat without overpowering the flavor. Nashville hot style works amazingly well with this method.
Seasonal variations keep things interesting. In fall, I’ll add sage and thyme to the coating for a more herbaceous flavor. Summer calls for a lemon-pepper version that’s incredible with fresh corn and tomatoes.
Failed experiment alert: I once tried to make this with almond milk instead of buttermilk thinking it would be “healthier.” The results were bland and disappointing. Stick with real buttermilk or make your own with regular milk and lemon juice – the tang is essential.
Bottom Line
This buttermilk air fryer fried chicken delivers authentic Southern flavor with way less mess and oil than traditional methods – and honestly, most people can’t tell the difference. The combination of tangy buttermilk marinade and perfectly crispy coating makes this a recipe you’ll come back to again and again.
The best part? Once you’ve got the technique down, you can have restaurant-quality fried chicken on your table in under an hour, and your kitchen won’t smell like a fast-food restaurant for the next three days. Jake’s mom still asks for the recipe every time she visits, and coming from someone who’s been making fried chicken for forty years, that’s the highest compliment I could ask for.
Frequently Asked Questions
Can I cook this from frozen?
Not really – you need to thaw the chicken completely first. Frozen chicken won’t absorb the buttermilk marinade properly, and the cooking times will be all wrong. Plan ahead and thaw in the refrigerator overnight.
Why is mine not getting crispy enough?
Usually this comes down to too much moisture or not enough oil. Make sure you’re patting the chicken completely dry before coating, and don’t skip the oil spray. Also check that you’re not overcrowding the basket.
Can I double this recipe?
Absolutely, but you’ll need to cook in multiple batches. Don’t try to cram everything into one batch – it won’t cook evenly and you’ll lose that crispy texture we’re after.
What if I don’t have buttermilk?
Mix 1 cup of regular milk with 1 tablespoon of lemon juice or white vinegar. Let it sit for 10 minutes until it curdles slightly – this creates a pretty good buttermilk substitute that works well in this recipe.
How do I prevent the coating from falling off?
Make sure your chicken is completely dry before coating, press the flour mixture firmly onto each piece, and let the coated chicken rest for 10-15 minutes before cooking. This helps the coating adhere better.
Is this healthier than traditional fried chicken?
Definitely – you’re using about 80% less oil than deep frying while getting similar results. The air fryer method significantly reduces calories and fat content while maintaining that crispy texture and flavor.
Can I make this ahead for a party?
The chicken is best served immediately, but you can keep it warm in a 200°F oven for up to an hour. For parties, I usually cook everything fresh since it only takes about 45 minutes total including prep time.

