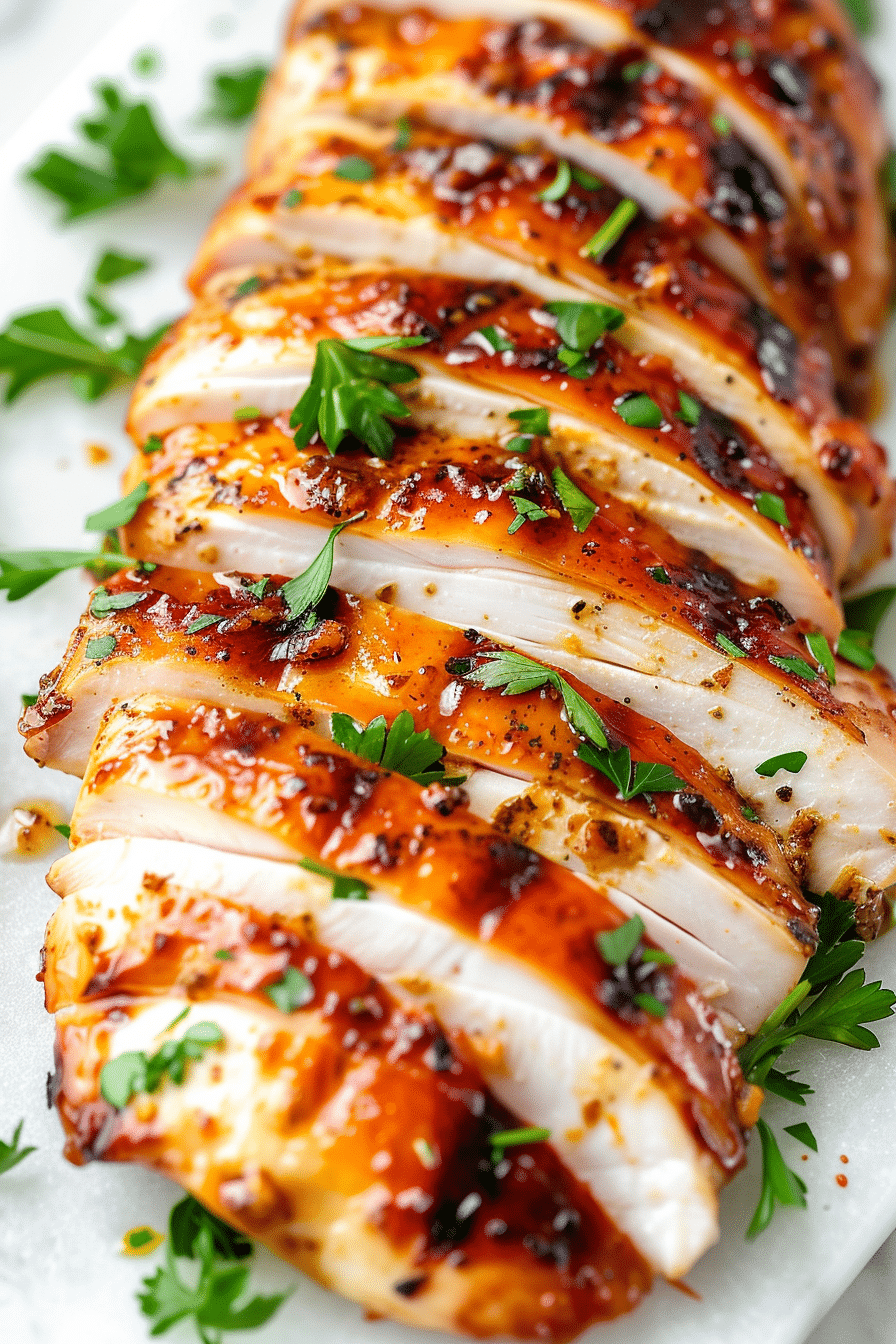
Balsamic Glazed Air Fryer Chicken saved me when Emma’s drama teacher announced on Friday that the cast party was at our place Sunday afternoon, and somehow I’d volunteered to feed fifteen teenagers plus their parents. Classic overcommitting mom moment, right? I’m staring at my grocery receipt Saturday night – twenty pounds of chicken and a mild panic attack about how to make it special enough for the theater crowd (they’re picky about everything).
Then I remembered this gorgeous glazing technique I’d been perfecting, and suddenly I had a plan. Two hours later, parents were cornering me by the coffee machine asking if I’d consider catering their next dinner party. The teens? They actually put down their phones to eat. That’s when you know you’ve got something special.
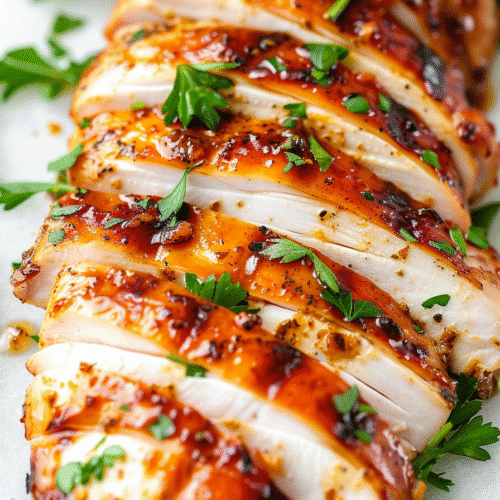
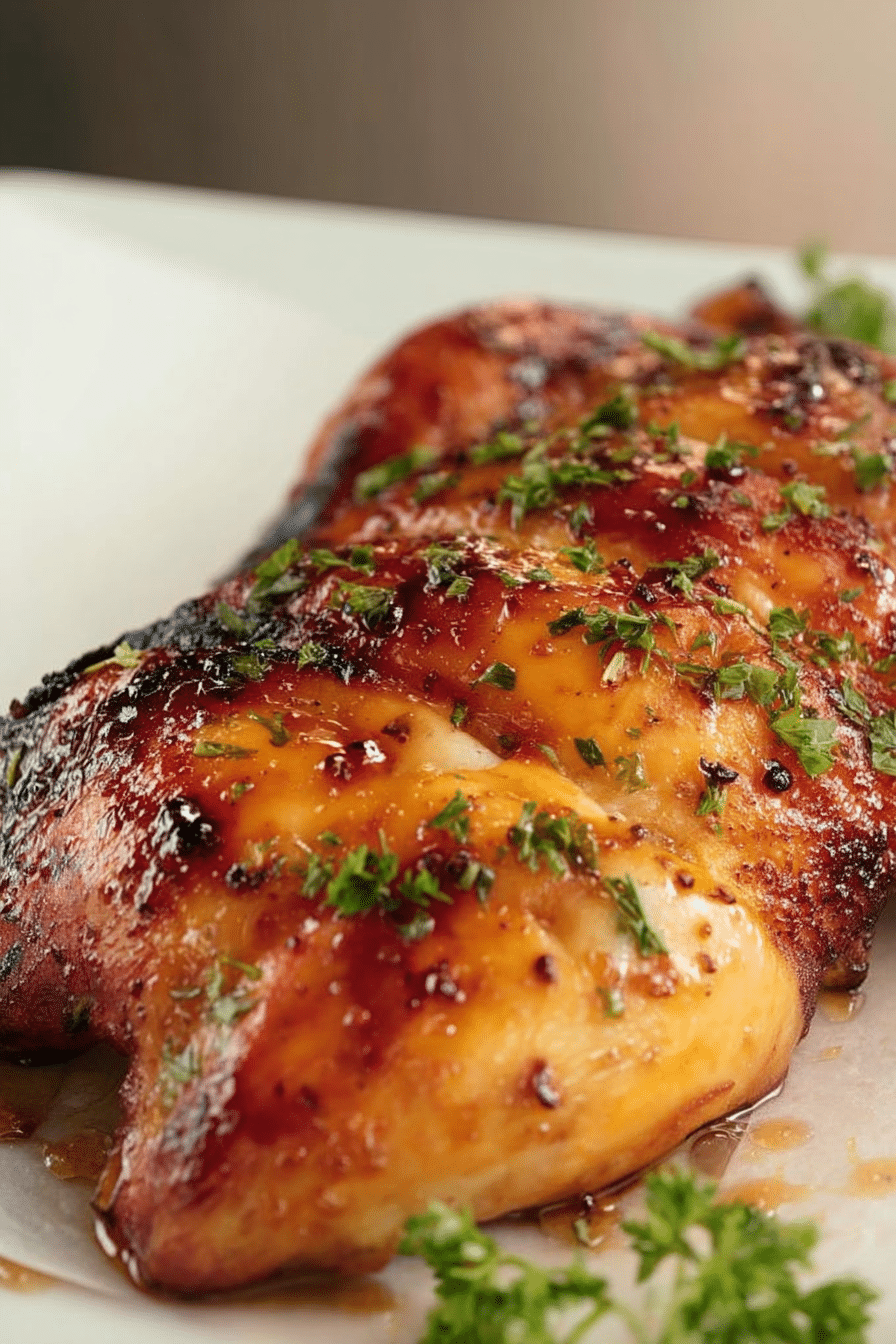
Building on my comprehensive Air Fryer Chicken Recipes Collection, this technique takes everything I’ve learned about achieving the perfect balance of crispy skin and juicy meat, then adds a sweet-tangy glaze that’ll have your family fighting over the last piece. The balsamic reduction creates this gorgeous glossy coating that caramelizes beautifully in the air fryer’s circulating heat.
In this guide, you’ll master the exact temperature settings, timing, and my secret three-ingredient glaze that guarantees restaurant-quality results every single time. Plus, I’ll share the rookie mistakes I made (so you don’t have to) and why this recipe has become my go-to for everything from weeknight dinners to impressing my Italian mother-in-law.

Table of Contents
Why Air Fryer Balsamic Glazed Chicken Beats Traditional Oven Methods
I discovered this technique purely by accident after my oven decided to quit working during Emma’s birthday week. Jake was threatening to order pizza for the third night in a row, and I was getting desperate. That’s when I realized my Cosori could do more than just reheat leftover takeout – it could actually create something amazing.
The air fryer’s intense circulating heat does something magical to balsamic glaze. In a traditional oven, you’d need to baste multiple times and risk uneven caramelization. But the air fryer’s 360-degree heat circulation creates this perfect environment where the glaze reduces and caramelizes evenly across every surface of the chicken. We’re talking restaurant-level glossy coating in half the time.
I’ve tested this recipe in my Cosori 5.8-quart, my Ninja Foodi 8-quart, and even my neighbor Maria’s Instant Vortex Plus. The science behind it is actually pretty cool – the rapid air circulation creates the perfect balance of moisture retention inside the chicken while developing that beautiful caramelized exterior. The Maillard reaction (that’s the fancy term for browning) happens faster and more evenly than any oven I’ve used.
The cleanup factor alone sold Jake on this method. One basket, one quick wipe-down, and we’re done. No roasting pans soaking in our tiny Brooklyn sink until midnight.

Balsamic Glazed Air Fryer Chicken
Equipment
- Air fryer
- Meat thermometer
- Silicone brush
- Small mixing bowl
- Perforated parchment paper
Ingredients
4 boneless, skinless chicken breasts (6-8 ounces each)
1/3 cup balsamic vinegar
3 tablespoons honey
1 tablespoon Dijon mustard
1 teaspoon salt
1/2 teaspoon black pepper
1/2 teaspoon garlic powder
2 tablespoons fresh parsley, chopped (for garnish)
Instructions
Preheat air fryer to 380°F for 5 minutes.
Pat chicken breasts completely dry with paper towels and season both sides with salt, pepper, and garlic powder.
In a small bowl, whisk together balsamic vinegar, honey, and Dijon mustard until smooth.
Place seasoned chicken in air fryer basket in single layer, ensuring pieces don’t touch.
Cook for 10 minutes without opening the air fryer.
Flip chicken and brush with half the glaze using silicone brush.
Cook 8-10 minutes more, until internal temperature reaches 165°F.
During last 2 minutes, brush with remaining glaze for extra glossy finish.
Let rest 5 minutes before serving. Garnish with fresh parsley if desired.
Notes
- Air fryer models may vary – start checking doneness 2-3 minutes early for your specific model
- Internal temperature should reach 165°F for chicken safety per USDA guidelines
- Don’t overcrowd the basket – work in batches if necessary for even cooking and glazing
- Use perforated parchment paper for easy cleanup
- Storage: Refrigerate leftovers up to 4 days
- Reheating: Best reheated in air fryer at 350°F for 3-4 minutes
- For thicker chicken breasts (over 8 oz), add 3-5 minutes cooking time
- Glaze can be made up to 3 days ahead and stored in refrigerator
Nutrition
Best Ingredients and Equipment for Perfect Balsamic Glazed Chicken
How to Choose Perfect Chicken for Air Fryer Glazing
Size matters when you’re working with glaze in an air fryer. I’ve learned the hard way that massive chicken breasts cook unevenly and the glaze burns before the inside reaches 165°F. Look for pieces that are roughly 6-8 ounces each – they’ll cook through in about 18-20 minutes while giving the glaze time to develop that perfect caramelized finish.
Fresh chicken works best, but I’ve absolutely used frozen in a pinch. If you’re going the frozen route, add 5-7 minutes to your cooking time and apply the glaze halfway through to prevent burning. Tyler actually prefers the twice-glazed version now.
Air Fryer Setup for Glossy Balsamic Glazed Chicken
Preheating is non-negotiable with glazed chicken. I preheat to 380°F for 5 minutes – this immediate searing helps lock in juices before the glaze starts working its magic. Line your basket with parchment paper perforated specifically for air fryers. Trust me, cleanup after balsamic glaze without it is a nightmare.
Space your chicken pieces at least an inch apart. I know it’s tempting to crowd them when you’re feeding four people from a 5.8-quart basket, but overlapping pieces mean uneven glazing. Better to do two batches than serve half-caramelized, half-pale chicken.
How to Make Perfect Balsamic Glazed Air Fryer Chicken Step-by-Step
Chicken Preparation and Glaze Making (10 minutes)
Pat your chicken completely dry – I use about three paper towels per piece. Any moisture will prevent proper searing and make your glaze slide right off. Season generously with salt, pepper, and just a pinch of garlic powder. Don’t go crazy with seasonings here; the glaze is the star.
For the glaze, whisk together 1/3 cup balsamic vinegar, 3 tablespoons honey, and 1 tablespoon Dijon mustard in a small bowl. That’s it. I’ve tried fancy additions – fresh thyme, garlic, red wine – but this simple trio hits every note perfectly. The honey balances the acidity, the mustard adds depth, and the balsamic brings that tangy sweetness that makes this dish addictive.
Air Fryer Cooking Process for Balsamic Glazed Chicken (20 minutes at 380°F)
Place seasoned chicken in your preheated air fryer basket. Cook for 10 minutes without opening – I know it’s tempting to peek, but resist. The initial searing is crucial for juicy results.
After 10 minutes, flip each piece and brush with half the glaze using a silicone brush. Cook another 8-10 minutes, depending on thickness. During the last 2 minutes, brush with remaining glaze for that extra glossy finish. The internal temperature should hit 165°F – according to USDA food safety guidelines, this ensures safe consumption every time.
Perfect Balsamic Glazed Chicken Finishing Tips
Let your chicken rest for 5 minutes after cooking – this is crucial for redistributing juices. The glaze will continue to set during this time, creating that perfect sticky-but-not-gooey texture. If you want extra gloss, brush with any remaining glaze while the chicken is still warm.
For ultimate presentation, I like to sprinkle with chopped fresh parsley or a pinch of red pepper flakes. Emma always requests the “fancy restaurant look” which just means I arrange it nicely on our good plates instead of serving straight from the basket.
Expert Tips for Perfect Balsamic Glazed Air Fryer Chicken
Here’s what four years of air fryer obsession has taught me about glazed chicken: temperature control is everything. Different air fryer models run slightly hotter or cooler than their settings indicate. My Cosori runs true to temperature, but my Ninja Foodi tends to run about 10 degrees hotter. Start checking doneness 2-3 minutes early until you know your machine’s personality.
This technique works brilliantly for my crispy air fryer chicken thighs too – just adjust cooking time to 22-25 minutes for bone-in pieces. The dark meat actually holds up even better to the glazing process.
For batch cooking, keep finished pieces warm in a 200°F oven while you cook the rest. The glaze won’t suffer, and you can serve everything at once. This is especially helpful when I’m making my juicy air fryer chicken breast alongside these glazed pieces for a full spread.
Don’t skip the parchment paper – balsamic glaze becomes cement when it hits a hot air fryer basket. I learned this lesson at 10 PM on a school night, scrubbing my Cosori with a toothbrush while Jake ordered emergency pizza.
Store leftovers in the refrigerator for up to 4 days. For reheating, air fry at 350°F for 3-4 minutes. The glaze reactivates beautifully and you’ll swear it’s freshly made. Equipment experts at America’s Test Kitchen recommend this lower temperature for reheating glazed proteins to prevent burning.
Best Ways to Serve Balsamic Glazed Air Fryer Chicken
Perfect Side Dishes for Balsamic Glazed Chicken
The sweet-tangy glaze pairs beautifully with simple sides that won’t compete for attention. I usually go with roasted Brussels sprouts (also air fried, because why dirty another pan?), garlic mashed potatoes, or a simple arugula salad with lemon vinaigrette. Tyler’s favorite combo is this chicken with plain white rice – he says the glaze makes the perfect sauce.
For entertaining, I serve this alongside crusty bread and a simple tomato salad. The Italian influence always wins over Jake’s family, and the colors look gorgeous on the table.
How to Store and Meal Prep Balsamic Glazed Chicken
This chicken keeps beautifully for meal prep. Store cooled pieces in airtight containers in the refrigerator for up to 4 days. For freezing, wrap individual pieces in plastic wrap and freeze for up to 3 months. Thaw overnight in the fridge before reheating.
For best reheating results, use your air fryer at 350°F for 3-4 minutes. The microwave works in a pinch, but you’ll lose that gorgeous caramelized exterior. I often slice leftover chicken for salads or grain bowls – the glaze adds incredible flavor to lunch prep.
Easy Balsamic Glazed Chicken Variations
The beauty of this base recipe is how easily it adapts. For a spicier version, add a pinch of red pepper flakes to the glaze – Emma’s boyfriend requests this every time he comes for dinner. For herb lovers, whisk in fresh rosemary or thyme during the last few minutes of cooking.
I’ve made a keto-friendly version using sugar-free honey substitute with great results. The texture is slightly different, but Tyler (who’s usually my toughest critic) couldn’t tell the difference. For gluten-free friends, just verify your Dijon mustard is gluten-free – most brands are, but it’s worth checking.
My biggest failure was trying to add soy sauce for an Asian twist. The salt content threw off the entire balance and created a weirdly sticky mess. Stick to the classic three-ingredient base – it works for a reason.

Balsamic Glazed Air Fryer Chicken FAQ
How long does balsamic glazed chicken take in the air fryer?
Total cooking time is 18-20 minutes at 380°F for 6-8 ounce chicken breasts. Larger pieces may need an additional 3-5 minutes, while smaller cutlets cook in about 15 minutes.
What temperature should I use for balsamic glazed chicken?
380°F is the sweet spot for glazed chicken. This temperature allows the chicken to cook through while giving the glaze time to caramelize without burning. Lower temperatures don’t develop proper caramelization, while higher temperatures can burn the glaze before the chicken is done.
Can I cook balsamic glazed chicken from frozen?
Yes, add 5-7 minutes to the cooking time and apply glaze halfway through cooking. The chicken will release more moisture when frozen, so pat dry halfway through and reapply glaze for best results.
Why isn’t my balsamic glaze getting glossy?
Usually this means your air fryer temperature is too low or you’re not applying enough glaze. Make sure you’re preheating to 380°F and applying glaze in two stages – once after flipping, and again during the last 2 minutes of cooking.
How do I know when balsamic glazed chicken is done?
The internal temperature should reach 165°F for food safety. The glaze should be glossy and caramelized, and juices should run clear when the thickest part is pierced. A good meat thermometer is essential for accurate results.
Can I double this balsamic glazed chicken recipe?
Work in batches rather than overcrowding your air fryer. Proper air circulation is essential for even cooking and caramelization. Keep finished pieces warm in a 200°F oven while cooking additional batches.
What’s the best way to reheat glazed chicken?
Air fry at 350°F for 3-4 minutes. This reactivates the glaze and maintains the crispy exterior. Avoid microwaving if possible, as it will soften the caramelized coating.

