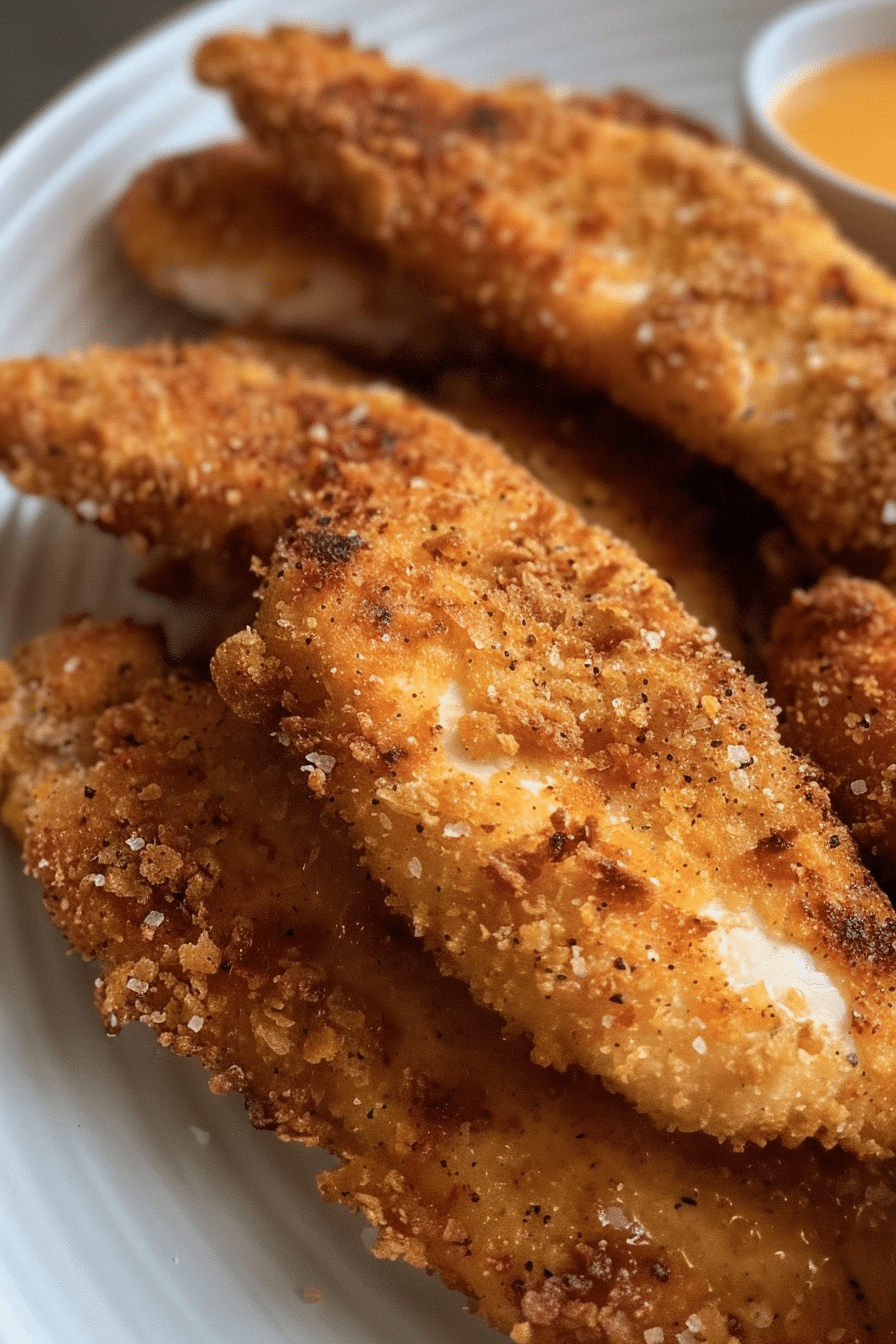
Easy air fryer chicken tenders are the ultimate weeknight dinner savior that actually gets kids excited about eating protein. I discovered this game-changing recipe last spring when Tyler had three friends over for a sleepover, and I needed something that would feed four hungry boys without requiring a second mortgage. Twelve minutes later, I had the crispiest, most tender chicken strips that disappeared faster than pizza at a middle school party.
If you’ve been following my Air Fryer Chicken Recipes collection, you know I’m all about simple techniques that deliver restaurant-quality results. But chicken tenders? They’re honestly the easiest thing you can make in an air fryer, and they’re perfect for everything from quick snacks to family dinners when you need something everyone will actually eat.
In this guide, I’ll show you my foolproof method for chicken tenders that are crispy on the outside, juicy on the inside, and ready in under 15 minutes total. Plus, I’ll share the coating tricks that make them irresistible to even the pickiest eaters.

Table of Contents
Why Air Fryer Chicken Tenders Are Perfect
Here’s what makes chicken tenders ideal for air frying: they’re uniform in size, cook quickly, and have the perfect surface area for getting crispy without drying out. Unlike whole chicken breasts that can be tricky to cook evenly, tenders are naturally portion-sized and cook consistently every time.
The circulating hot air creates that perfect golden crust while keeping the inside incredibly tender. I’ve tried baking these in my regular oven, and honestly, there’s no comparison. The air fryer gives you that satisfying crunch that makes tenders so addictive, without any of the oil mess from traditional frying.
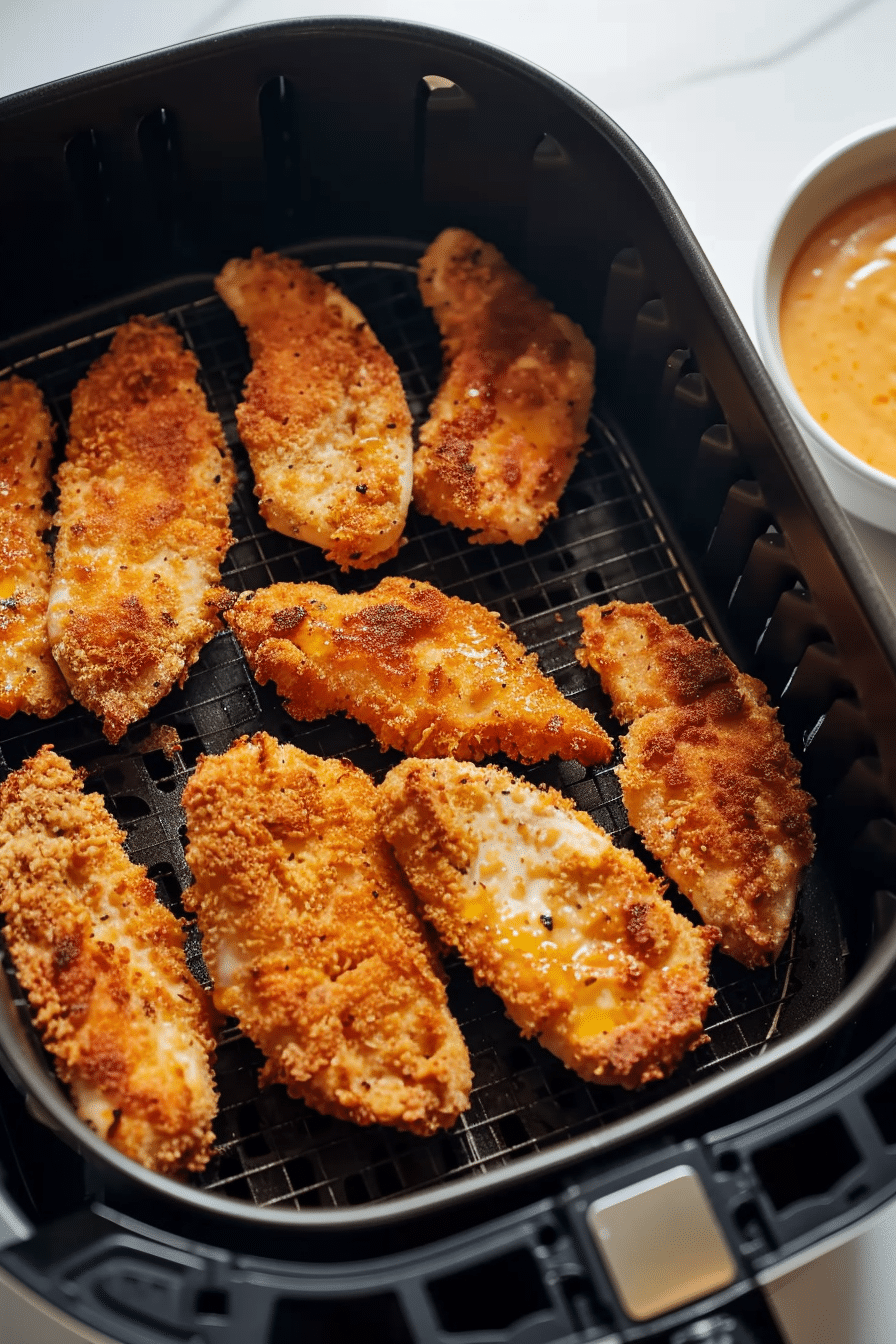
My Cosori handles about 8-10 tenders perfectly, while my Ninja Foodi can fit up to 12 if you arrange them carefully. The key is not overcrowding – these need space to get crispy on all sides.
Essential Air Fryer Chicken Tenders Preparation
Choosing the Right Tenders
Look for tenders that are roughly the same thickness – about 3/4 inch works perfectly. If they’re much thicker, they might not cook evenly. If they’re super thin, they’ll cook too fast and potentially dry out.
I prefer fresh over frozen because you get better texture control, but frozen tenders work too. Just add about 3 extra minutes to the cooking time and make sure they’re completely thawed and patted dry first.
The Secret to Extra Crispy Coating
This is where the magic happens. My three-step coating process creates that restaurant-style crunch:
First, pat the tenders completely dry and season with salt and pepper. Then set up your breading station: flour in one dish, beaten eggs in another, and seasoned breadcrumbs in the third.
For the breadcrumbs, I mix panko with regular breadcrumbs (about half and half), plus garlic powder, paprika, and a pinch of parmesan cheese. The panko gives texture, the regular breadcrumbs help everything stick, and the seasonings make them actually taste like something.
The key is pressing the breadcrumbs firmly onto each tender. Don’t just dip and shake – really press that coating on so it adheres properly during cooking.

Easy Air Fryer Chicken Tenders
Equipment
- 1 Air fryer 5.8-quart or larger recommended
Ingredients
1.5 lbs chicken tenderloins
1/2 cup all-purpose flour
2 large eggs, beaten
1 cup panko breadcrumbs
1/2 cup regular breadcrumbs
1/4 cup grated parmesan cheese
1 teaspoon garlic powder
1 teaspoon paprika
1 teaspoon salt
1/2 teaspoon black pepper
Cooking spray
Instructions
Preheat air fryer to 400°F for 3 minutes.
Pat chicken tenders dry and season with salt and pepper.
Set up breading station: flour in one dish, beaten eggs in second, breadcrumb mixture in third.
Dredge each tender in flour, then egg, then breadcrumbs, pressing coating firmly.
Arrange in single layer in air fryer basket. Spray tops lightly with cooking spray.
Cook 12 minutes, flipping once at 6-minute mark.
Check internal temperature reaches 165°F before serving.
Serve immediately with your favorite dipping sauces.
Notes
Nutrition
Step-by-Step Cooking Process
Setting Up Your Air Fryer
Preheat to 400°F for 3 minutes. I lightly spray the basket with cooking spray, but honestly, the breadcrumbs prevent sticking pretty well on their own.
Arrange tenders in a single layer with a little space between each one. They can touch slightly, but don’t overlap or stack them. This ensures even browning and proper air circulation.
The Perfect Cooking Method
Cook at 400°F for 12 minutes, flipping once at the 6-minute mark. The flip is crucial – it ensures both sides get that beautiful golden color and crispy texture.
At 10 minutes, start checking for doneness. They should be golden brown and feel firm to the touch. Internal temperature should hit 165°F, but honestly, once you make these a few times, you’ll know they’re done just by looking.
If they need extra crispiness, give them another 1-2 minutes. Different air fryer models vary slightly, so adjust based on what you’re seeing.

Pro Tips for Perfect Air Fryer Chicken Tenders
Room temperature matters. Let tenders sit out for 15 minutes before breading – cold chicken doesn’t cook as evenly and the coating doesn’t adhere as well.
Don’t skip the pressing step when applying breadcrumbs. This is what separates soggy coating from that perfect crispy shell that stays put when you bite into it.
For extra flavor, add seasonings to your flour, not just the breadcrumbs. I like garlic powder and paprika in the flour stage too – it creates more layers of flavor.
Spray the tops lightly with cooking oil spray before cooking. This helps the breadcrumbs brown beautifully and creates an even more restaurant-like finish.
Serving and Storage
These are perfect for dipping – ranch, honey mustard, barbecue sauce, or even just ketchup for the kids. I like to set out a few different sauces and let everyone choose their favorite.
For meal planning, these reheat incredibly well in the air fryer. Just 2-3 minutes at 375°F and they’re crispy again. Way better than microwave reheating, which makes them soggy.
Store leftovers in the fridge for up to 3 days. For meal prep, I sometimes make a big batch on Sunday and use them throughout the week for quick lunches or dinner additions.
Simple Air Fryer Chicken Tenders Variations
Once you’ve mastered the basic recipe, try these easy variations:
Buffalo Style: Toss hot tenders with buffalo sauce mixed with a little melted butter. Serve with ranch and celery sticks.
Honey Mustard: Mix honey with Dijon mustard and brush on during the last 2 minutes of cooking for a sweet-tangy glaze.
Parmesan Herb: Add extra parmesan and Italian seasoning to your breadcrumb mixture. Sprinkle with fresh parsley after cooking.
Spicy: Add cayenne pepper and chili powder to the breadcrumb mixture. Start with a pinch and adjust to taste.
Easy Air Fryer Chicken Tenders: Your New Go-To Recipe
These easy air fryer chicken tenders have become our go-to solution for everything from after-school snacks to quick dinners when nobody can agree on what to eat. They’re simple enough that Emma can make them herself, delicious enough that even Jake admits they’re better than takeout, and fast enough for those nights when homework and activities leave you with zero time to cook.
The best part? Once you master this basic technique, you can customize them however your family likes. Whether it’s Tyler’s request for extra spicy or Emma’s preference for honey mustard, these tenders are the perfect canvas for whatever flavors you’re craving.
Frequently Asked Questions
Can I use frozen chicken tenders?
Yes, but thaw them completely first and pat dry. Add 3 extra minutes to cooking time and check that internal temperature reaches 165°F.
Why is my coating falling off?
Usually because the chicken wasn’t dry enough or the coating wasn’t pressed on firmly. Make sure to pat tenders dry and really press those breadcrumbs on.
Can I make these without breadcrumbs?
Absolutely! Just season the tenders and cook the same way. They won’t be as crispy but still delicious. You could also try crushed cornflakes or crackers.
How do I know when they’re done?
Golden brown color and internal temperature of 165°F. They should feel firm when gently pressed, not soft or squishy.
Can I double the recipe?
Cook in batches for best results. Overcrowding leads to uneven cooking and less crispy coating.

